Intro 
Over the years, I’ve run a variety of self-hosted services on a variety of random and not-so-random ports. While you could look at this in some ways as a form of security by obscurity, the reality was that these services needed a unique port on the host that could then be exposed for access from the outside. On top of that, ssl termination via Let’s Encrypt was a huge pain, manually running certbot and adding TXT records for DNS verications, after which I would have to futz with the live certificates to ensure the proper ones were getting used. Painful - you get the drift. Were there improvements that could have eased the burden of this manual process of mine? Yes…but I kept putting in the work every time that friendly expiration warning came around.
That was, until I reached the point where I was completely tired of my hacky solution and decided to go about determining a better long term approach that would require minimal effort on my part to keep my microservices running smoothly and stay secured. Enter: Traefik.
Traefik & Requirements - In a Nutshell
To start things off, here is the description of Traefik directly from the Traefik github page:
Traefik (pronounced traffic) is a modern HTTP reverse proxy and load balancer that makes deploying microservices easy. Traefik integrates with your existing infrastructure components (Docker, Swarm mode, Kubernetes, Consul, Etcd, Rancher v2, Amazon ECS, …) and configures itself automatically and dynamically. Pointing Traefik at your orchestrator should be the only configuration step you need.
For my purposes, the reverse proxy aspect solves all requirements beautifully - which are:
- Use subdomains instead of obscure ports for microservices
- Automation of any Let’s Encrypt certificate procurement and renewal processes
- Simple integration with Podman (preferrably rootless)
While Podman is not explicitly called out in the Traefik description blurb above, with Docker and a “…” being noted, we can expect things to work. With Podman, you can activate a socket for the API service that is compatible with Docker - further details on that here. Pretty cool.
Note: I will not go over the installation of Podman in detail, but on a Fedora 37 host (as in my case) this is as simple as running # dnf install podman. As for getting rootless abilities going, be sure to configure /etc/subuid and /etc/subgid for your unprivileged user per this Podman tutorial.
Example from my environment where the user chris should be able to run containers:
[chris@itx1 ~]$ cat /etc/subgid
chris:100000:65536
[chris@itx1 ~]$ cat /etc/subuid
chris:100000:65536
Note: For the curious and per the manpage(s), setting these subuid and subgid parameters authorizes a user or group id to map ranges of user or group ids from its namespace into child namespaces. See subuid(5) and subgid(5) for additional details.
Activating the Podman API Socket
As my host is running on Fedora 37, all that is needed to activate the socket for an unprivileged user is the following:
- Start the socket as the regular user you plan to use to run Podman containers:
$ systemctl --user start podman.socket - Assuming you would like the socket to start automatically on boot, also run:
$ systemctl --user enable podman.socket - Run a quick test to ensure your unprivileged user can run containers:
[chris@itx1 ~]$ podman run quay.io/podman/hello…where success looks like:
 Trying to pull quay.io/podman/hello:latest...
 Getting image source signatures
 Copying blob d08b40be6878 done
 Copying config e2b3db5d4f done
 Writing manifest to image destination
 !... Hello Podman World ...!

          .--"--.
        / -     - \
       / (O)   (O) \
    ~~~| -=(,Y,)=- |
     .---. /`  \   |~~
  ~/  o  o \~~~~.----. ~~
   | =(X)= |~  / (O (O) \
    ~~~~~~~  ~| =(Y_)=-  |
   ~~~~    ~~~|   U      |~~

 Project:   https://github.com/containers/podman
 Website:   https://podman.io
 Documents: https://docs.podman.io
 Twitter:   @Podman_io
 [chris@itx1 ~]$
If you see an error related to subuid ranges not being found, read back over the requirements section above.
Run Traefik
Now that we have Podman setup to enable our unprivileged user to run containers, we can move on to standing up Traefik.
Binding to Ports 80 & 443 with a Regular User
In order to run Traefik without root, we need to give the ability for unprivileged users to bind privileged ports by modifying a kernel parameter. Use sysctl to do this (as root):
# sysctl net.ipv4.ip_unprivileged_port_start=80
And to make it persistent, run (also as root):
# echo "net.ipv4.ip_unprivileged_port_start=80" > /etc/sysctl.d/user_priv_ports.conf
Note: I couldn’t find a way to do this in a less wholesale manner (ie: not allowing all unprivileged users to bind to port 80 and beyond), but if you know of a way, please share :)
Create Storage for Let’s Encrypt Data
As your unprivileged user:
$ touch acme.json
$ chmod 0600 acme.json
You can put this file wherever it makes sense for you, just be sure it can only be read & written by your unprivileged user for security purposes.
Bring up the Traefik Container
Run the following to bring up the (basic) container, being sure to replace references to <path/to/acme.json>, <uid>, <email@example.com> with your environment information:
podman run -d \
  --name=traefik \
  --net podman \
  --security-opt label=type:container_runtime_t \
  -v /run/user/<user>/podman/podman.sock:/var/run/docker.sock:z \
  -v </path/to/acme.json>:/acme.json:z \
  -p 80:80 \
  -p 443:443 \
  -p 8080:8080 \
  docker.io/library/traefik:latest \
  --api.dashboard=true \
  --api.insecure=true \
  --certificatesresolvers.lets-encrypt.acme.email="email@example.com" \
  --certificatesresolvers.lets-encrypt.acme.storage=/acme.json \
  --certificatesresolvers.lets-encrypt.acme.tlschallenge=true \
  --entrypoints.http.address=":80" \
  --entrypoints.http.http.redirections.entryPoint.to=https \
  --entrypoints.http.http.redirections.entryPoint.scheme=https \
  --entrypoints.https.address=":443" \
  --providers.docker=true
Notes: In this example, we are using the default podman network and setting the container_runtime_t label on the container to enable communication with the podman socket enabled earlier. Additionally, we exposed ports 80 and 443 for serving content and Let’s Encrypt verifications. If not already done, you will need to use your firewall/router to forward these two ports to this host from the outside world. Lastly and mainly for testing, we enabled the Traefik dashboard in an insecure manner over port 8080. You can secure this later with password auth and even running it through Traefik. More on that here.
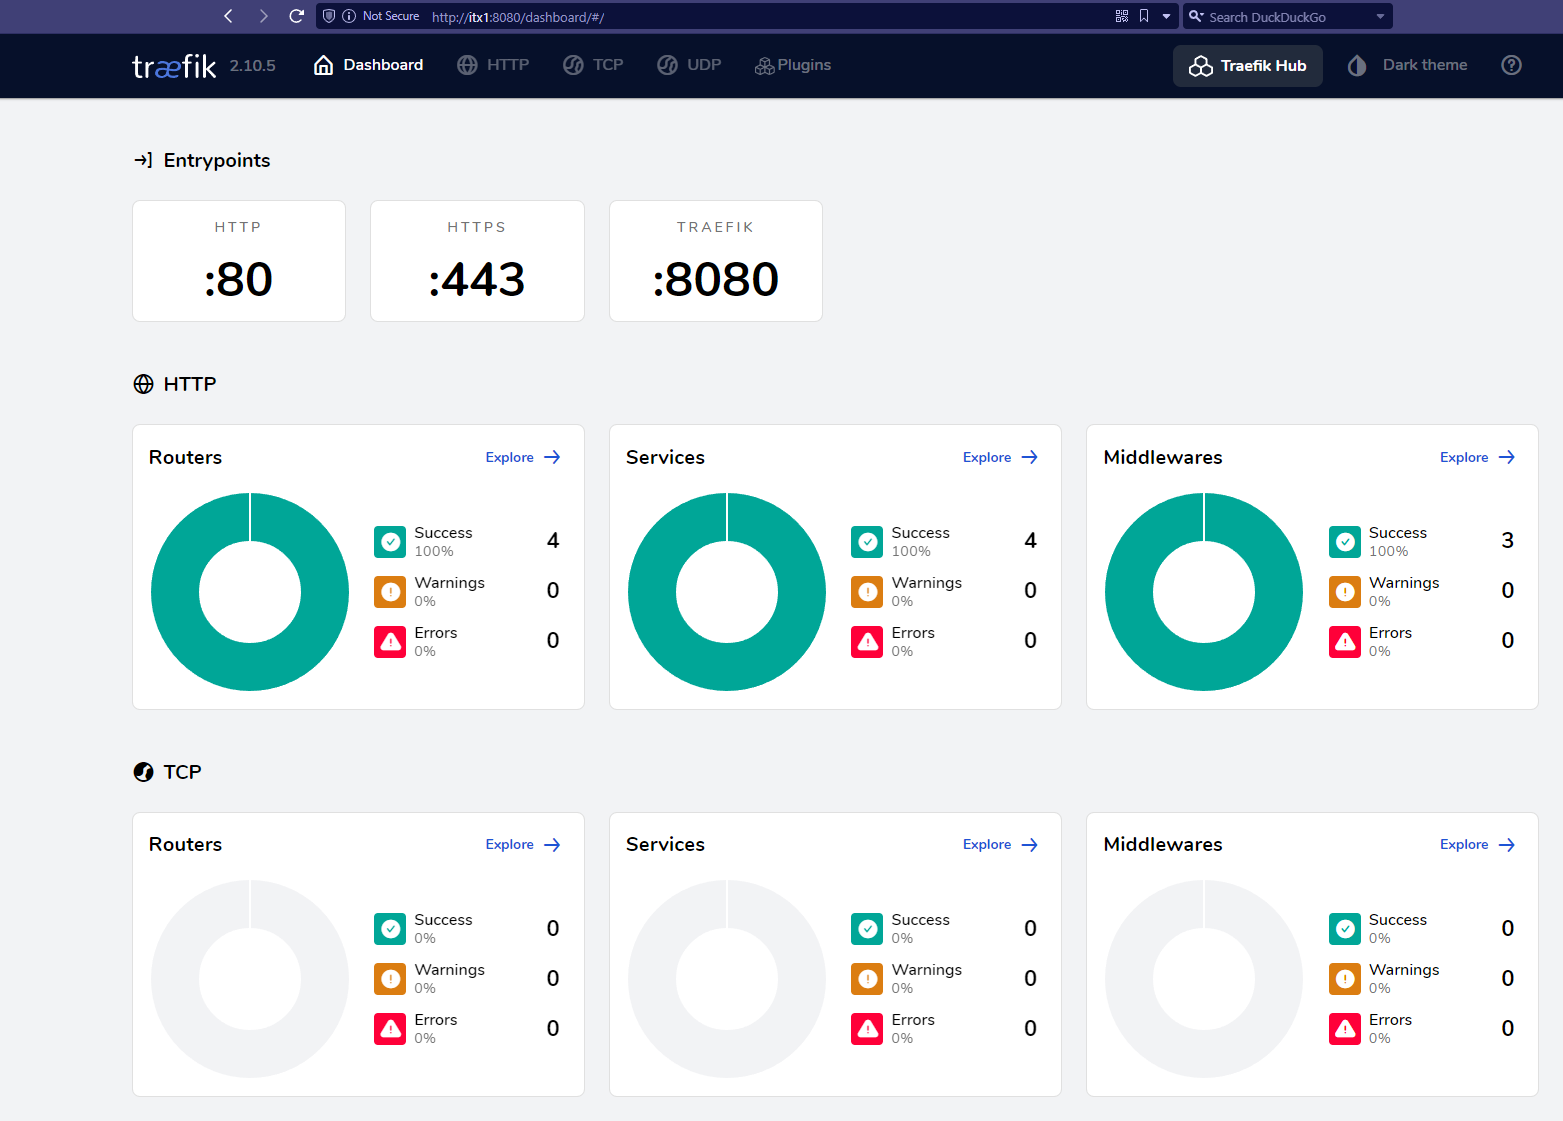
Verify
If everything came up properly, you should be able to see the Traefik container running and access the dashboard on port 8080:
[chris@itx1 ~]$ podman ps
CONTAINER ID  IMAGE                             COMMAND               CREATED         STATUS         PORTS                                                             NAMES
79de7f45072d  docker.io/library/traefik:latest  --api.dashboard=t...  10 seconds ago  Up 10 seconds  0.0.0.0:80->80/tcp, 0.0.0.0:443->443/tcp, 0.0.0.0:8080->8080/tcp  traefik
Test with a Container
At this point, you should be able to fire up your various applications and serve them through Traefik at will! Here is a quick test that can also serve as an example:
podman run -d \
        --name hello \
        --hostname hello.cthudson.com \
        -l traefik.enable="true" \
        -l traefik.http.routers.hello.rule=Host'(`hello.cthudson.com`)' \
        -l traefik.http.middlewares.hello-https-redirect.redirectscheme.scheme="https" \
        -l traefik.http.routers.hello.middlewares="hello-https-redirect" \
        -l traefik.http.routers.hello-secure.entrypoints="websecure" \
        -l traefik.http.routers.hello-secure.rule=Host'(`hello.cthudson.com`)' \
        -l traefik.http.routers.hello-secure.tls="true" \
        -l traefik.http.routers.hello-secure.tls.certresolver=lets-encrypt \
        -l traefik.http.services.hello.loadbalancer.server.port="8000" \
        docker.io/crccheck/hello-world
In a nutshell, this spins up the crccheck Hello World container (named hello here, which serves on port 8000) and tells Traefik to monitor for inbound requests for the hello.cthudson.com domain. Traefik will also take care of requesting and verifying certificates from Let’s Encrypt, ensuring a secure connection, and redirecting any http requests to https. On the backend, Traefik is essentially brokering all requests back to the hello container on port 8000.
Now, we test:
[chris@itx1 ~]$ curl https://hello.cthudson.com
<pre>
Hello World


                                       ##         .
                                 ## ## ##        ==
                              ## ## ## ## ##    ===
                           /""""""""""""""""\___/ ===
                      ~~~ {~~ ~~~~ ~~~ ~~~~ ~~ ~ /  ===- ~~~
                           \______ o          _,/
                            \      \       _,'
                             `'--.._\..--''
</pre>
…and if we try http with curl (adding -i to fetch headers), you should see a 301 and the location of the redirect:
[chris@itx1 ~]$ curl -i http://hello.cthudson.com
HTTP/1.1 301 Moved Permanently
Location: https://hello.cthudson.com/
Date: Thu, 02 Nov 2023 23:20:30 GMT
Content-Length: 17
Content-Type: text/plain; charset=utf-8
Redirect in action:
[chris@itx1 ~]$ curl -L http://hello.cthudson.com
<pre>
Hello World


                                       ##         .
                                 ## ## ##        ==
                              ## ## ## ## ##    ===
                           /""""""""""""""""\___/ ===
                      ~~~ {~~ ~~~~ ~~~ ~~~~ ~~ ~ /  ===- ~~~
                           \______ o          _,/
                            \      \       _,'
                             `'--.._\..--''
</pre>
Enjoy!