 Do you find yourself getting tired of referring folks to LinkedIn whenever you need to showcase your professional skillset and accomplishments? Are you bored and looking for a new self-hosted, open source software-based challenge just because? Or maybe you just want something a little more visually appealing without the social aspect? Whatever the case may be, here is quick guide on how you can spin up a containerized CV in short order.
Assumptions: This quickstart guide will cover standing up the container using Podman, so the assumption will be that you have a host capable of running Podman and a reasonable understanding of containers. Things should be pretty similar should you choose to use Docker.
Outside of that, domain and DNS management will be assumed knowledge, but you can refer to my Blog Creation Series Part 1 for a bit of a primer and one way to approach things should you need it. The current scope of this article is to get the container running so that you can begin to customize the CV content. The public hosting strategy will be up to you.
Software Used
- Fedora (in my environment)
- Podman
- Jekyll
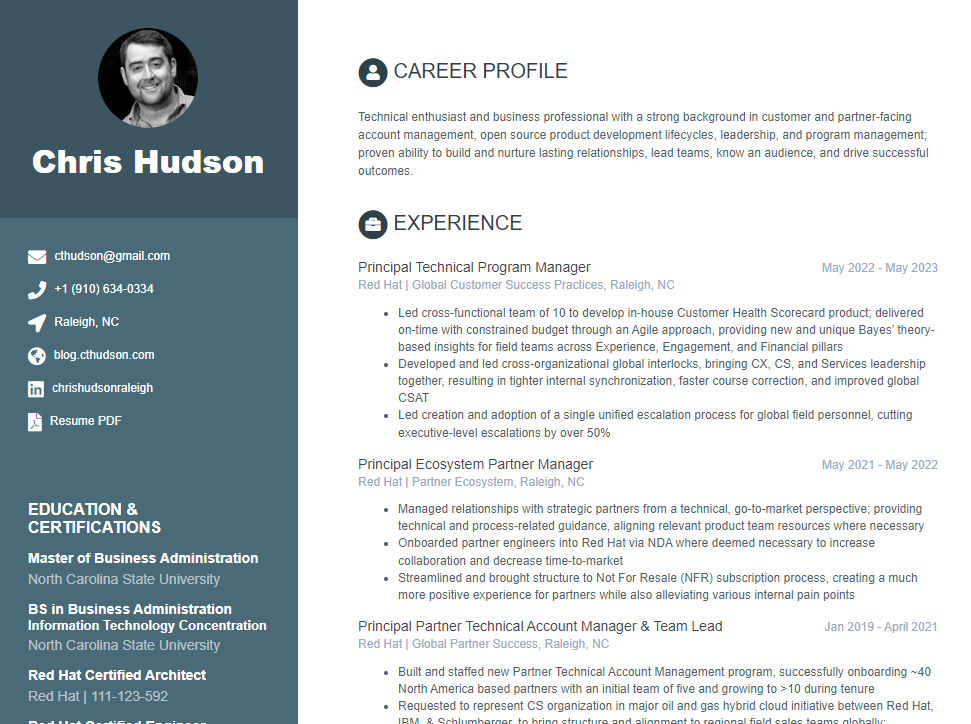
- Orbit Jekyll Theme
Execution
1. Persistent Storage
First off, you will need a directory to contain your Jekyll site. This guide will reference /containers/online-cv for the local persistent storage and can be created via:
# mkdir /containers/online-cv
Note: You can modify this location at will, just be sure to change the references to /containers/online-cv moving forward.
2. Pull Down online-cv Theme
Clone the online-cv git repository from GitHub to your newly created directory:
# git clone https://github.com/sharu725/online-cv.git /containers/online-cv
Change directory/file ownership to Jekyll container UID/GID (1000 by default).
# chown -R 1000:1000 /containers/online-cv
3. Bring Up the Container
Option 1: Use podman-compose
Install podman-compose if not already installed. For example, on Fedora:
# dnf install podman-compose
Add the following contents to an existing or new podman-compose.yml file:
1
2
3
4
5
6
7
8
9
10
11
12
13
14
    jekyll-cv:
      image: docker.io/jekyll/jekyll:latest
        container_name: online-cv
        hostname: example.com
        command: jekyll server --watch --drafts
        restart: always
        ports:
          - 3000:4000
        volumes:
          - /containers/online-cv:/srv/jekyll:z
        environment:
          - JEKYLL_ROOTLESS=1
          - JEKYLL_ENV=production
Note: We are exposing port 3000 for access. You should ultimately want to serve this up on port 443 (https) with a trusted certificate via a manual process or more ideally a reverse proxy, like Traefik. I will plan to create a post soon outlining using Traefik with Podman.
Bring the Container Up
To build and serve everything, run the following :
# podman-compose -f /path/to/podman-compose.yml up online-cv
Option 2: Use a Bash Script
Here’s the same thing, but in bash script form:
1
2
3
4
5
6
7
8
#!/bin/bash

/usr/bin/podman run -d -ti --rm --name online-cv --hostname example.com \
        -e JEKYLL_ROOTLESS=1 \
        -e JEKYLL_ENV=production \
        -p 3000:4000 \
        -v /containers/online-cv:/srv/jekyll:z \
        docker.io/jekyll/jekyll jekyll serve --watch --drafts
You can drop the above contents into a file named something like start_online-cv.sh and run it.
4. Test
The last step is to pull up a terminal or browser that can access your host and see if you can access your shiny new [generic] CV. In a browser, head to http://<your_host>:3000 and for curl, run:
$ curl http://<your_host>:3000
And you should see something like the following if successful:
  % Total    % Received % Xferd  Average Speed   Time    Time     Time  Current
                                 Dload  Upload   Total   Spent    Left  Speed
100 19472  100 19472    0     0  2<!DOCTYPE html>--:-- --:--:-- --:--:--     0
64<!--[if IE 8]> <html lang="en" class="ie8"> <![endif]-->
2k<!--[if IE 9]> <html lang="en" class="ie9"> <![endif]-->
 <!--[if !IE]><!--> <html lang="en"> <!--<![endif]-->
 <head>
    <title>My Resume</title>

 0  <!-- Meta -->
 -  <meta charset="utf-8">
-
:-  <meta http-equiv="X-UA-Compatible" content="IE=edge">
-:  <meta name="viewport" content="width=device-width, initial-scale=1.0">
--  <meta name="description" content="A beautiful Jekyll theme for creating resume">

  <!-- Favicon -->
  <link rel="shortcut icon" href="favicon.ico">
-
-  <!-- Global CSS -->
:  <link rel="stylesheet" href="/assets/plugins/bootstrap/css/bootstrap.min.css">
...
Wrap-Up
Pretty simple, eh? From here, you can start hacking away on files within your persistent storage volume to make it your own. The two files you will mainly want to focus on are _config.yml and _data/data.yml. For further theme details, head on over to the author’s github repo.